How much can you save by fixing a cracked bathroom sink yourself? Up to 80%, with professional repairs costing $150-$300 versus $50 or less for DIY.
Spotted a little crack in your bathroom sink and thought, “Oh, it’s no biggie”? Think again! That tiny cracked bathroom sink can turn into a real mess—think leaks, water damage, or even a broken bathroom sink that’s beyond saving. Trust me, you don’t want to wake up to a soaked sink cabinet or a sink surface that looks like it’s been hit by a heavy object.
In this comprehensive guide, I’ll walk you through everything you need to know to tackle a cracked bathroom sink. We’ll dig into why it cracked, how to spot different types of cracks, and a step-by-step fix using tools like a putty knife and epoxy resin. Plus, I’ll throw in some bonus tips on how to fix a bathroom sink stopper and keep your sink in tip-top shape. So, ready to save your sink—and maybe your sanity? Let’s dive in!
If you are in New York and your bathroom is giving you headaches, don’t worry – Ajrin Construction has your back. We specialize in bathroom remodeling NYC, turning tired, outdated bathrooms into fresh, functional spaces you’ll love every day.
Why a Cracked Sink Matters
A small crack can lead to water damage, leaky pipes, or even force you to call an emergency plumber. And if it’s a ceramic sink, those cracks over time can turn it into a broken bathroom sink faster than you’d think.
Here’s what we’ll cover in this handy guide:
- Why do sinks crack in the first place
- How to tell if it’s a minor crack or a major problem
- A DIY fix for your cracked bathroom sink
- When to ditch repairs and call a qualified plumber for a replacement
- A bonus trick to fix a bathroom sink stopper
- Prevention tips to avoid future cracks
By the end, you’ll have all the actionable steps to get your sink back to its original condition. Let’s get cracking—pun intended!
Understanding the Causes of a Cracked Bathroom Sink
So, why did your sink crack? It’s not like you’ve been tossing sharp objects at it, right? Well, here are the usual suspects:
- Age and Wear: Porcelain sinks and ceramic sinks might look tough, but after years of use, they can develop surface cracks. It’s like how your favorite jeans eventually fray.
- Accidental Impacts: Dropped a heavy object like a curling iron or a bottle of shampoo? That sudden impact can crack even the sturdiest ceramic basin.
- Temperature Fluctuations: Pouring hot water into a cold porcelain sink or switching from cold water to warm water too fast can cause thermal shock. According to Plumbing Manufacturers International, this accounts for about 15% of sink cracks!
- Manufacturing Defects: Sometimes, the sink was doomed from the start due to tiny flaws in the sink materials.
- Bad Installation: An undermount sink or top-mount sink that’s not level can stress out over time, leading to cracks in porcelain sinks.
Knowing the underlying issue helps you prevent future damage. For instance, if extreme temperature is the culprit, maybe skip dumping boiling water down the bathroom sink drain.
Identifying Types of Cracks in Your Bathroom Sink
Not every crack spells doom, but how do you know which ones are trouble? Let’s break it down:
- Hairline Cracks: These are super thin, like scratches on a phone screen. They’re usually just a cosmetic issue and easy to fix with a porcelain sink repair kit.
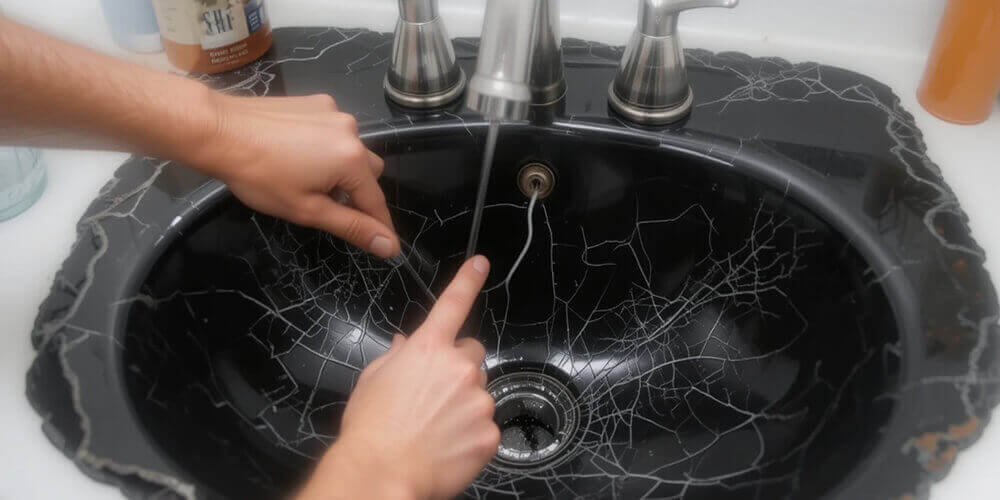
- Spider Cracks: Ever seen a cracked windshield? That’s what these look like—spreading out like a web. They’re a sign of larger cracks brewing.
- Severe Cracks: Deep, ugly cracks near the sink drain or running across the entire surface. These can cause bathroom sink leaks and might mean it’s time for a new sink.
Grab a flashlight and check your sink. If it’s got chips in porcelain sinks or looks like a puzzle, you might be past the DIY stage. Still unsure? Snap a pic and ask a professional plumber—better safe than sorry!
Step-by-Step Guide: How to Fix a Cracked Bathroom Sink
Alright, time to fix that cracked bathroom sink! This DIY sink repair works best for minor cracks in porcelain sinks or ceramic sinks. Here’s what you’ll need and how to do it:
What You’ll Need
- Epoxy resin or a porcelain repair kit (about $20-$30 at hardware stores)
- 400- or 600-grit sandpaper (fine-grit works best)
- Putty knife or utility knife
- Clean cloth or soft cloth
- All-purpose surface cleaner
- Disposable gloves (trust me, epoxy’s sticky!)
- Optional: Sink mats for future protection
Step 1: Prep the Sink
- Turn off the water supply using the shut-off valves under the sink—no one wants a wet mess!
- Clean the sink surface with soapy water and an all-purpose cleaner to zap water stains and grime.
- Lightly sand the crack with fine-grit sandpaper to rough it up. This helps the epoxy filler stick.
- Wipe it down with a clean cloth and let the sink air dry completely.
Step 2: Apply the Fix
- Mix your 2-part epoxy resin per the product instructions. Wear those disposable gloves—it’s gooey stuff!
- Use a putty knife to spread the epoxy putty into the crack. Press it in good so it fills every nook.
- Smooth it out for a seamless finish. Got excess filler? Wipe it off with a wet cloth before it dries.
Step 3: Let It Cure
- Give it ample time to dry—usually 24 hours, but check the kit. Don’t rush it; a successful repair needs patience.
- Once it’s hard, sand it again with 400-grit sandpaper for a smooth surface.
- Clean up any dust, and voilà—your sink’s back in action!
When to Replace Instead of Repairing a Cracked Bathroom Sink
Sometimes, patching up cracks in porcelain sinks isn’t worth it. How do you decide? Check these signs:
- Crack Size and Spot: A crack in a fireclay sink or one near the bathroom sink drain? Bigger than 3 inches? Replacement might be smarter.
- Cost Check: A porcelain sink crack repair kit is cheap, but a new sink averages $380, per HomeAdvisor’s 2023 data. If you’re fixing larger cracks every month, that adds up!
- Red Flags: Extensive damage, leaky faucets from cracks, or a sink that’s more chipped than whole—time to shop for a bargain sink.
Dealing with a Broken Bathroom Sink
A cracked bathroom sink is one thing, but a broken bathroom sink? That’s next-level chaos—like missing chunks or a shattered ceramic basin. Here’s the plan:
- Quick Fixes: Slap on some waterproof tape or a sink grid to stop water leakage temporarily.
- Call the Pros: If it’s extensive damage or you’re dodging complex issues, a professional plumbing service like Knights Plumbing has the advanced tools to sort it out.
Stat Alert: The American Plumbing Association says 1 in 5 homeowners faces common plumbing issues like sink breaks yearly.
Bonus: How to Fix a Bathroom Sink Stopper
While we’re at it, let’s tackle those common issues with your bathroom sink stopper. A stuck or leaky stopper can mess with your plumbing systems. Here’s the fix:
- What’s Wrong: Won’t stay down? Slow drain? Debris in the drain pipe?
- Steps:
- Pop out the stopper and scrub it with soapy water.
- Adjust the supply valves or pivot rod with a crescent wrench if it’s loose.
- Add a bead of caulk around the rim if it’s not sealing.
- Replace It: Old and crusty? A new stopper’s under $10.
Pro Tip: Fixing this now prevents leaky pipes later. It’s basic bathroom maintenance!
Preventive Maintenance to Avoid Future Cracks
Why fix what you can prevent, right? Here’s how to keep bathroom sinks crack-free:
- Gentle Use: No standing on the sink rim or dropping heavy objects.
- Regular Cleaning: Skip abrasive cleaning products—use warm water and a soft cloth instead.
- Watch the Temp: Avoid sudden temperature switches to dodge thermal shock.
- Spot Checks: Look for minor cracks monthly. Early fixes beat big repairs.
- Protection: Add sink mats to cushion the sink surface.
Fun Fact: A WP Plumbing study found regular maintenance cuts sink repairs by 30%. That’s time and cash saved!
Conclusion: Take Charge of Your Sink
There you go—a full rundown on fixing a cracked bathroom sink! You’ve got the know-how to spot cracks, patch them up with epoxy dry tricks, and decide when to call a professional sink repair service. Plus, you can fix a bathroom sink stopper like a champ and keep future cracks at bay.
So, what’s stopping you? Grab that fine-grit sandpaper, mix some 2-part epoxy, and show your sink some love. Got a sink story or a question? Drop it below—I’d love to hear from you!